The thing about Shibori is it can be both mentally invigorating and relaxing, often at the same time. I’ve been looking forward to this week’s work, knowing I’d have the stimulation of a puzzle paired with the soothing calm of stitching row upon repetitive row of running stitches.
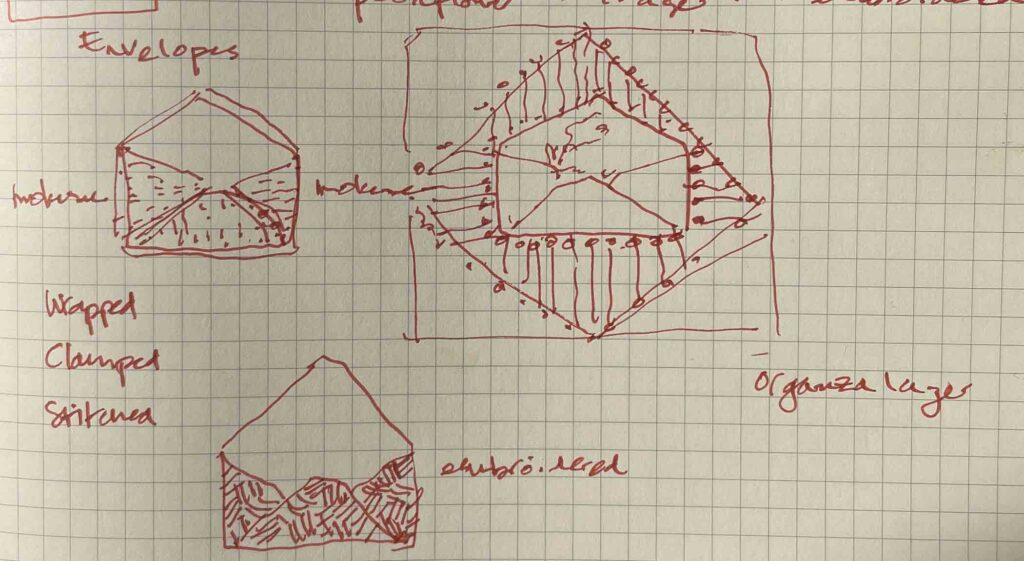
Quick notations capture possibilities and remind me of fleeting ideas
In teasing out an approach for the dyed background of my “letters from home”, I’ve thought of plenty of possibilities. The overall goal is to find an idea that is generally repeatable, yet with enough elbow room for variations that will allow each piece to hold its own among the others in the series.
I keep even the smallest amounts of dye on hand so that I can make mini-samples on the fly. For the process of Ori-nui, the cloth is folded and stitches are made parallel and close to the fold. It’s a good way to achieve definition. I felt the stitches I’d made in this sample were too far from the fold, so I adjusted that distance in my final, full-scale sample.
I also have to keep in mind how the embroidery-to-be will fit, so that it doesn’t become lost against the color and pattern of its dyed background.
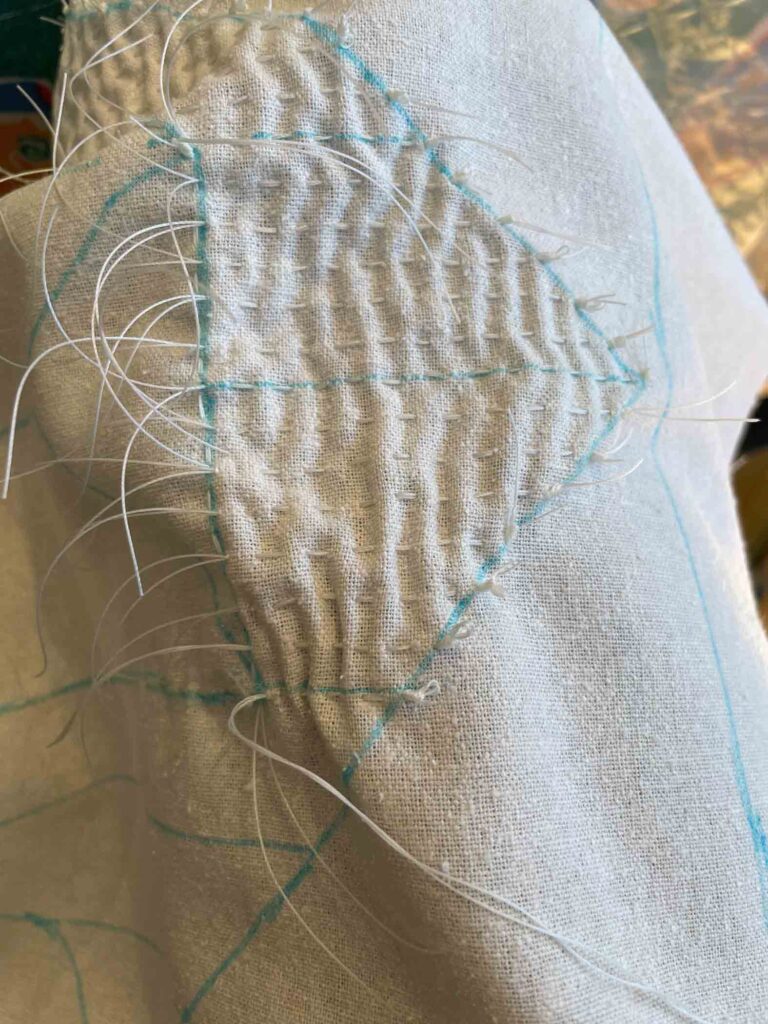
Once I get to the stage of sewing the resist stitching, I can settle in and relax. Where to stitch, what direction those stitches will take, and where the knots will be placed have all been decided. So there’s nothing to do at this point but listen to a book or podcast and get to work.
It’s all well and good to jot down options in a sketchbook, but it isn’t until the needle actually pierces the cloth that reality sets in and decisions/questions begin to crop up in earnest. Should the striations of pattern all go in the same direction – or perhaps oppose each other? How best to keep a crisp line between areas of pattern and open spaces of dye? Can I balance those two while keeping in mind that the third crucial element of the embroidered imagery will be added later?
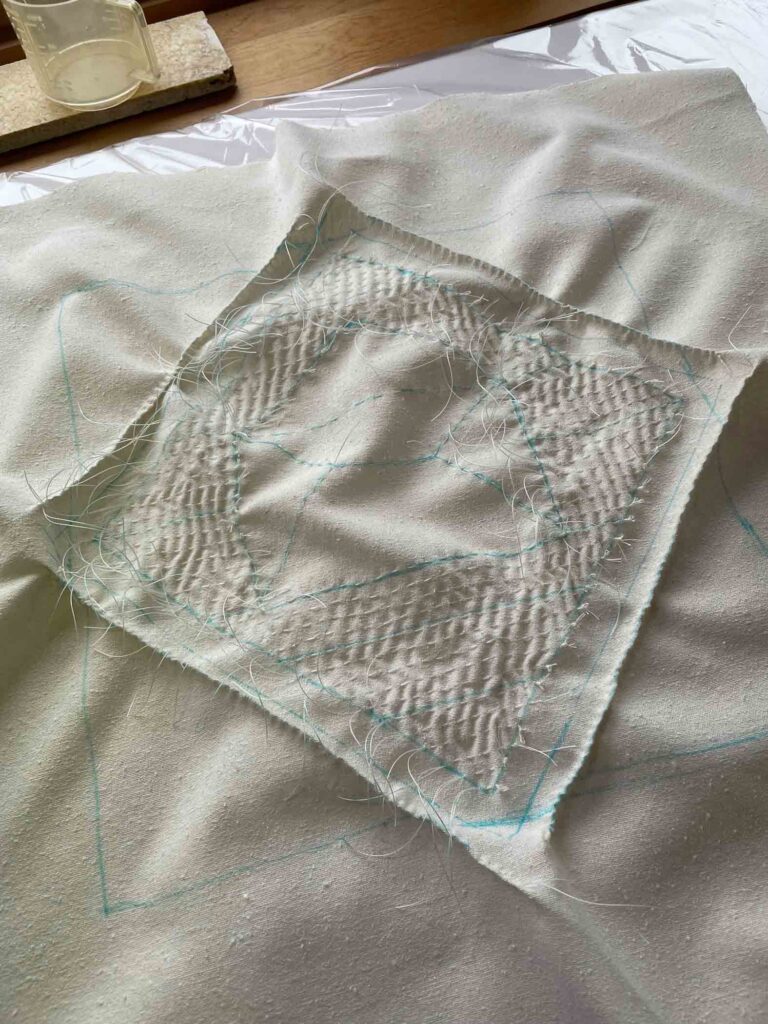
With the stitching complete, the fabric is ready to soak and then all the threads will have to be drawn up tightly and knotted before beginning the dye process.
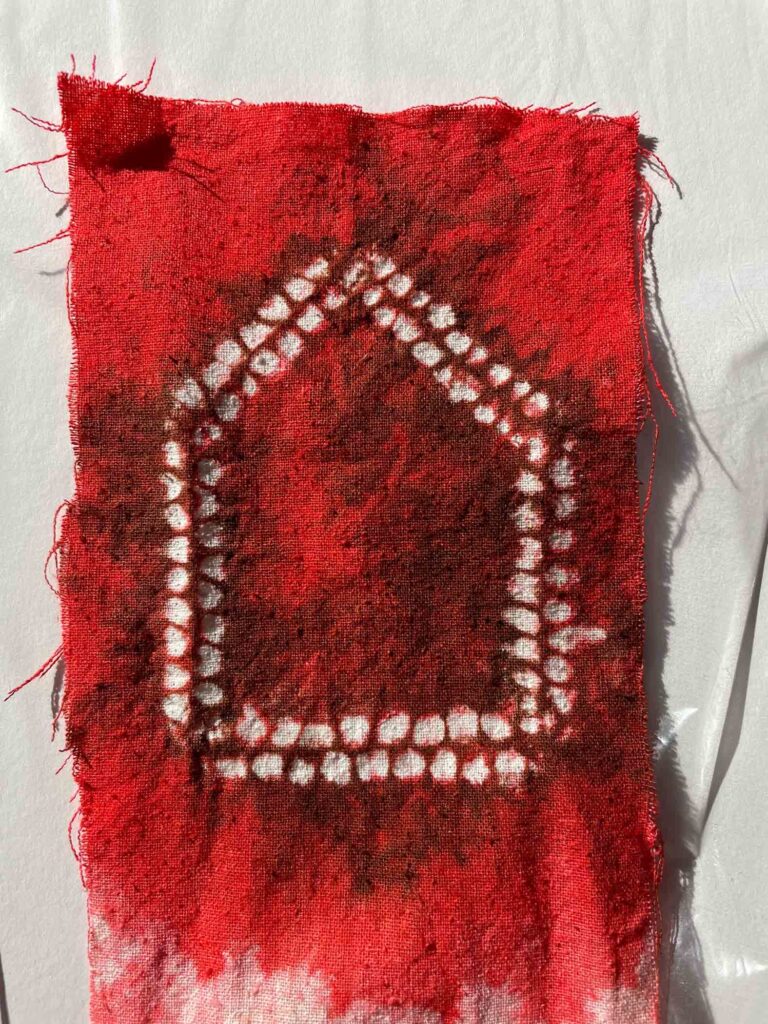
An example of the many things to think about: an often overlooked characteristic of Mokume stitching is that even the point where one chooses to begin a row of stitching can impact the final appearance. I am quite fond of the little white dots left un-dyed by the knots at the end of my stitching thread, so I try to work out ways to incorporate them that will enhance the piece without distraction. It’s worth noting that beyond contributing added visual “zip” for those who look closely, those tiny spots are also a reminder that this process is very much hand-made.
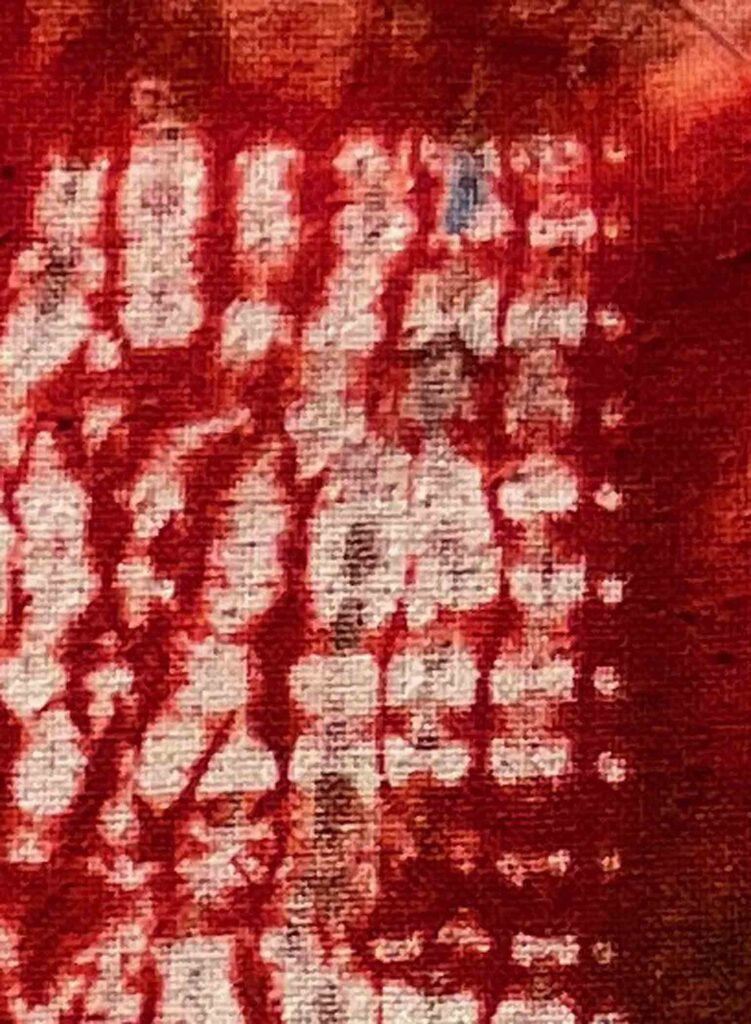
Admittedly they are very subtle, but I think the marks left by the knots at the end of my thread elevate the pattern as a whole, so I try not to hide them if possible.
Last but not least, at this early stage everything must be worked within a pre-determined finished size to accommodate framing.
So yes, lots to think about and I have my work cut out for me. But I wouldn’t have it any other way.
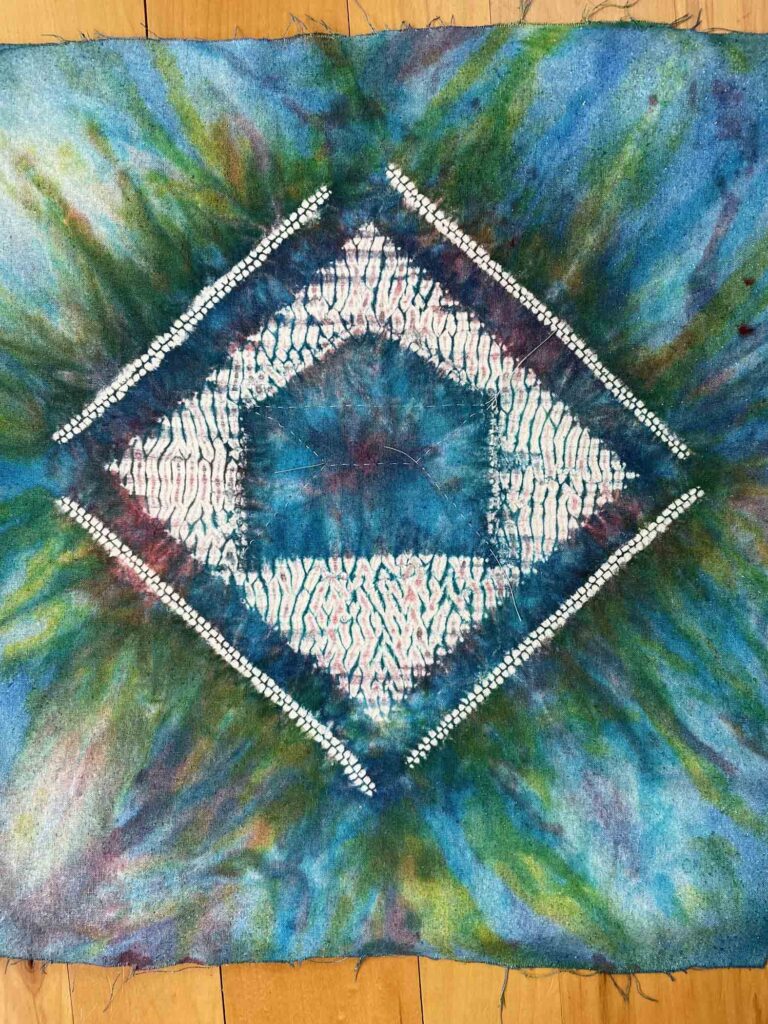
And there you have it – the finished, dyed piece. The dye came out a bit like the Northern Lights, don’t you think?
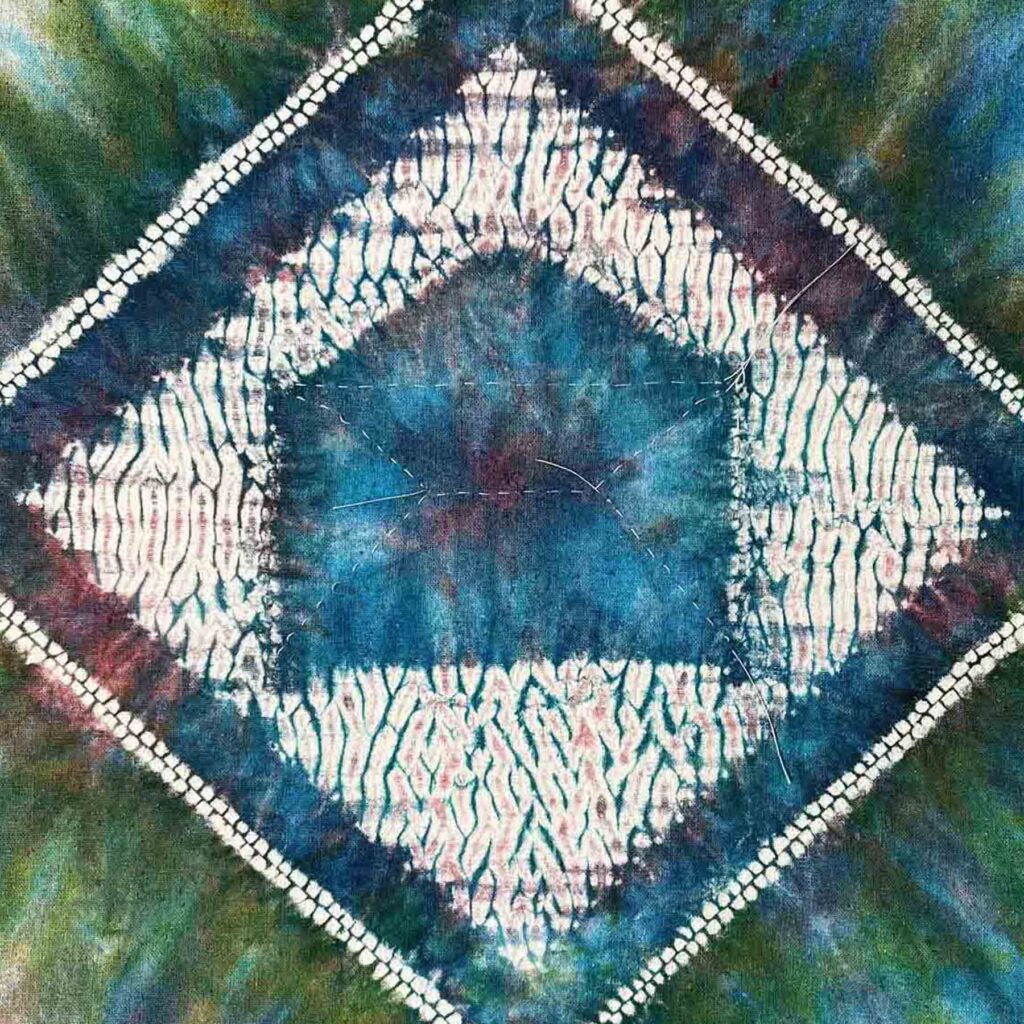
If I go with a 12 x 12 inch final dimension as originally planned, this is about where it’ll end up.
✷
Most of our fall yard chores are now complete, crowned, as always, by the all-important planting and securing of the garlic under its snug winter cover of leaves and burlap.
Time to get ready for garden dreaming in hibernation season by turning to books. After reading the article I mentioned in my last post, I picked up David Culp’s The Layered Garden from the library for his ideas on how to bridge the seasons in your garden. My favorite example of this idea is Jack Lenor Larsen’s Red Garden at the Longhouse Reserve.
I have a beautiful red twig dogwood and tend to leave areas of echinacea and bee balm for visual interest against the snow (and any late foraging birds). But I wonder what other ideas Culp might have. I was rewarded this morning, waking up to a frosted landscape that reminded me just how lovely every season can be.

I love the colors and shapes in this new piece. It does look like the northern lights. It’s a shame that you will loose a lot of that luscious color if it ends up 12 x 12. Is there another (larger) size that would work?
As always, I look forward to seeing this piece progress!
As usual, you’ve hit the nail on the head, Judy. I had the same thoughts as I was cropping this in Photoshop to approximate the 12 x 12 dimensions. Lots to think about!
I also love the colors in this piece, truly gorgeous, and look forward to seeing your next steps as your work progresses!
Thanks Leslie. This is the beauty of the Colorhue dyes: they mix on the fabric like watercolor, coming up with wonderful, unpredictable combinations.
I really enjoy following your process. I love the contrast between the whites of the pattern and deep colors of your dyes.
I hope to catch up with you soon.
Thanks for your feedback Patty – I’d love to chat and trade ideas.