Tag Archives: Shibori

Step by Step

This week, in lieu of all the usual writing, I am giving us both a break. Instead, I am posting photos of this latest piece as it has evolved. Your questions are welcome.

Mokume

The first step is creating the Shibori pattern on raw silk. This particular pattern is called “Mokume”, which means wood grain. It is not an exact science – just rows and rows of closely spaced running stitches. Still, I’m sure you can appreciate the resemblance to its namesake. Look closely to see the dots of white along the right edges of the pattern. They mark the placement of the knots of the threads that were used to gather the fabric before it was dyed.

Photocopy Map

I use photocopies of my original sketches as a map of sorts, to help me translate the image into stitch.

Stitch Variety

Using a variety of stitch patterns, weights, and colors gives a sense of form, and also adds an abstracted quality that I quite enjoy.

Gold Thread

Once I added the gold thread to that inside right section of the cup, it began to come alive. Sometimes a very small change can make a huge difference.

Keep Going

When I got to this point I began to see the minimal stitching on the saucer as an interesting composition in itself and I gave serious consideration as to whether I should just stop, leaving the saucer mostly blank. Of course I decided to keep going, but seeds have been planted to investigate this idea further in a future piece.

Saucer

Not only have I made the choice to keep going by filling in the saucer, I’ve begun to work on the background as well.

Getting the saucer right

Getting the saucer right was a bit of a challenge. You don’t see it in these photos, but it took several tries to get each section so that it rang true. Such is the beauty of working with thread; it is so easily removed and restitched.

Shadow

The background is now a major consideration – and I have removed most of the stitching to the right that had appeared before. Deepening and outlining the shadow below the cup strengthens its definition.

Background evolves

The background continues to evolve.  At this point I realized I needed to figure out how to tone down the lighter section to the left of the cup so that it didn’t stand out quite so starkly.

Quiet Moment     ©2017 Elizabeth Fram                                                                                                Finished! Now to decide on framing…

Quiet Moment, detail

Quiet Moment, detail     ©2017 Elizabeth Fram

Quick note: most of these photos were taken at the end of the day, in sketchy &/or artificial light, which explains the color differentials.

On a Different Note…                                                                                                                           

This week marks the opening of “Fiber Expressions, a group show of the Vermont members of the Surface Design Association.  I have 4 pieces exhibiting. I hope you can check it out if you’re in the area. Here’s the scoop:

Fiber Expressions
February 20 – March 31, 2017
Living/Learning Gallery, University of Vermont
633 Main St., Commons 205, Burlington, VT 05405
802.656.4299   http://www.uvm.edu/llcenter/gallery/
Exhibit Hours: Mon – Fri: 1:00-8:30pm    Sat: 12:30-4:30pm
Gallery Closed for Spring Recess March 11-19; Open by appointment only

Switching Gears

There’s no arguing that persistence is one of the jewels in our proverbial bag of tricks. But there are definitely times when there’s more to be gained from allowing yourself to switch gears, especially in the face of a wall that, for the moment, seems insurmountable.

swoop

In Process     ©2016 Elizabeth Fram

I have been struggling with too many false starts on this piece over the past couple of weeks, spending as much time taking stitches out as I have putting them in. While I am loving the colors and the swoop of the pattern as it rises and falls through the layers, I am having a heck of a hard time taking it to the next level. So it’s going up on my wall where I can live with it, allowing time and distance to work their magic. Having put it aside, I’m on to something completely new to give my brain an airing out, making for a nice change this week.

redpiece1

Stitching guidelines marked on raw silk

redpiece2

Stitching, stitching, & more stitching

redpiece4

Just slightly pulling the threads begins to reveal a beautiful pattern.

Although this form of shibori is named “mokume”, meaning ‘wood grain’, it also reminds me of Ansel Adams’ photographs of sand dunes.

redpiece9

Soaking the fabric in water allows me to pull the threads all the tighter.

redpiece5

The first application of dye

redpiece6

A mixture of red, brown and eggplant. I have to be careful that the dye gets into all the nooks and crannies.

redpiece7

Since this type of dye only adheres to protein fibers (i.e. silk, wool, etc), it doesn’t affect the cotton thread, which is a cellulose fiber. This makes it much easier to find the tight knots and to snip them without nicking the fabric.

redpiece8

Removing all the threads reveals this incredible pattern. It still takes my breath away each time.

And now to get begin the next stage…

Expect the Unexpected: Revisiting Process, Part 1

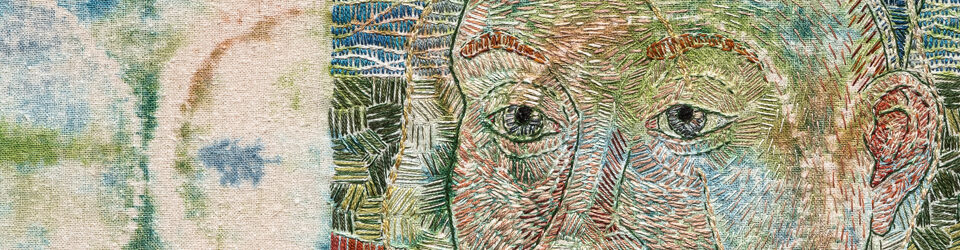
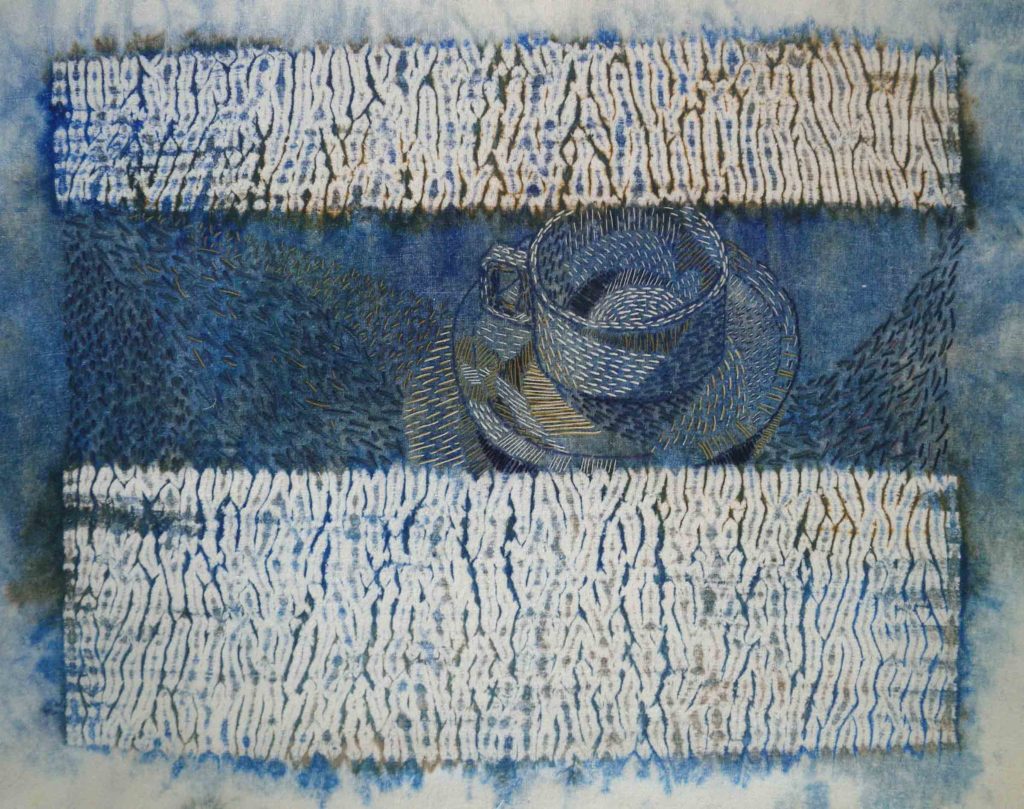
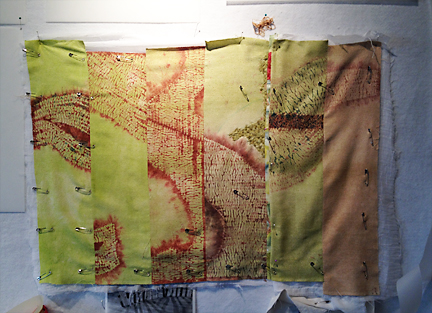
This piece, Ulysses’ Wave, is about change — and more specifically, coming to terms with the aging and the loss of a parent. It seemed a worthy candidate for sharing a look into my process, which is largely intuitive and does not involve much preparation other than a vague idea of where I am headed.

Ulysses' Wave1

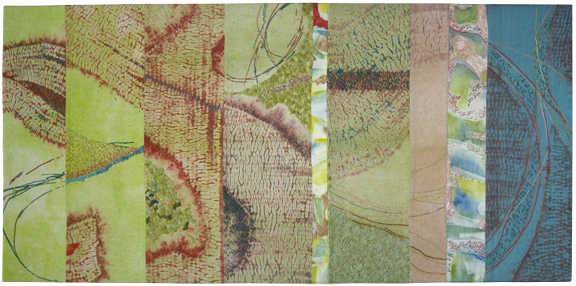
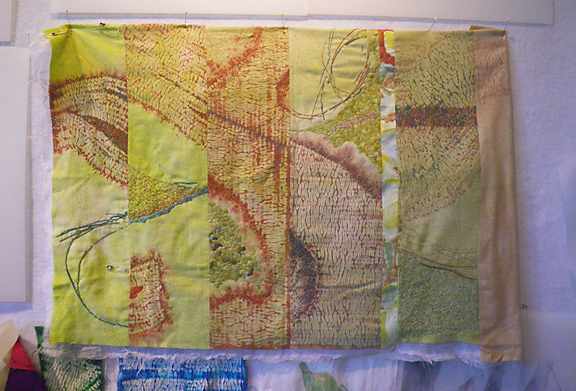
Ulysses’ Wave  19″ x 38″  ©2014 Elizabeth Fram

Almost daily my dog and I walk the same path in the woods, and as a result I’m sensitive to the subtle differences I see from day to day. My observations have prompted me to think about the slow changes that occur as one season merges into the next, which in turn led me to consider the idea of such a progression in wider terms.

Even though one is fully aware change is coming, there can suddenly be a moment when the realization strikes home that the exchange has already occurred — almost like the silent flip of a switch. The most apt metaphor I can come up with is an invisible line that one day you are a bit surprised to find you have already crossed. In a nutshell, that’s the concept behind Ulysses’ Wave.

In my work, I’ve been developing a process for a couple of years now that brings together my interest in color, texture, and the organization and arrangement of shapes within an image. I aim to capitalize on the qualities that make working with textiles unique through the shifting of one’s focus between the surface of the work and the image portrayed. Along the way, I’m learning to become comfortable with the fact that no part of the process is entirely predictable; the final piece will evolve as it does, which is the result of lots of starts and stops along the way.

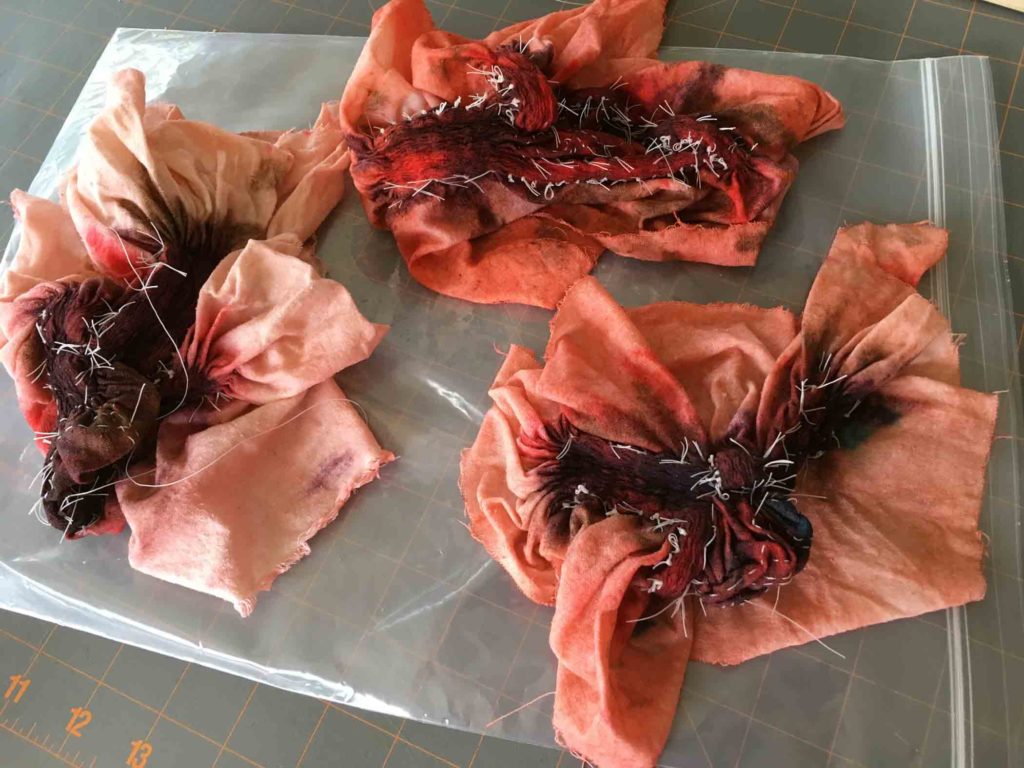
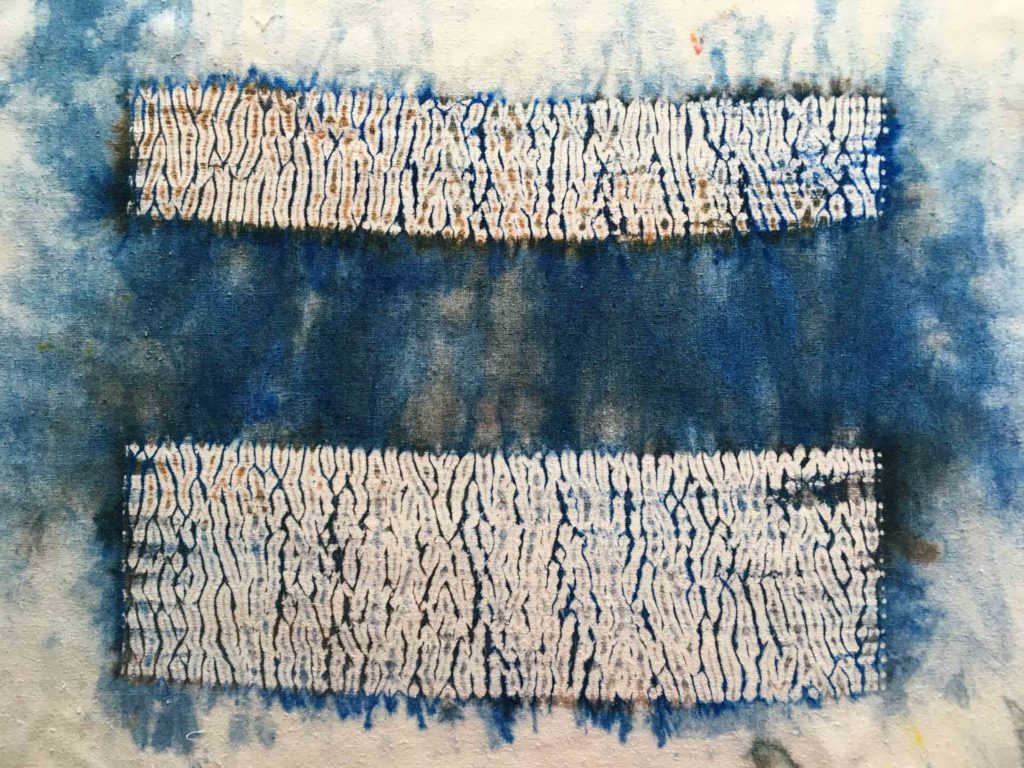
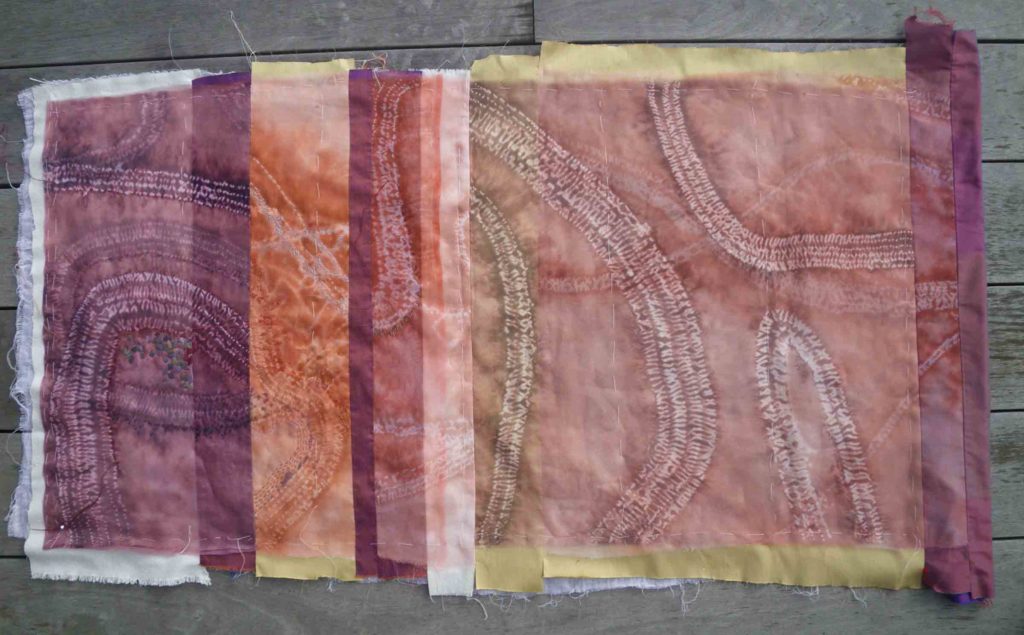
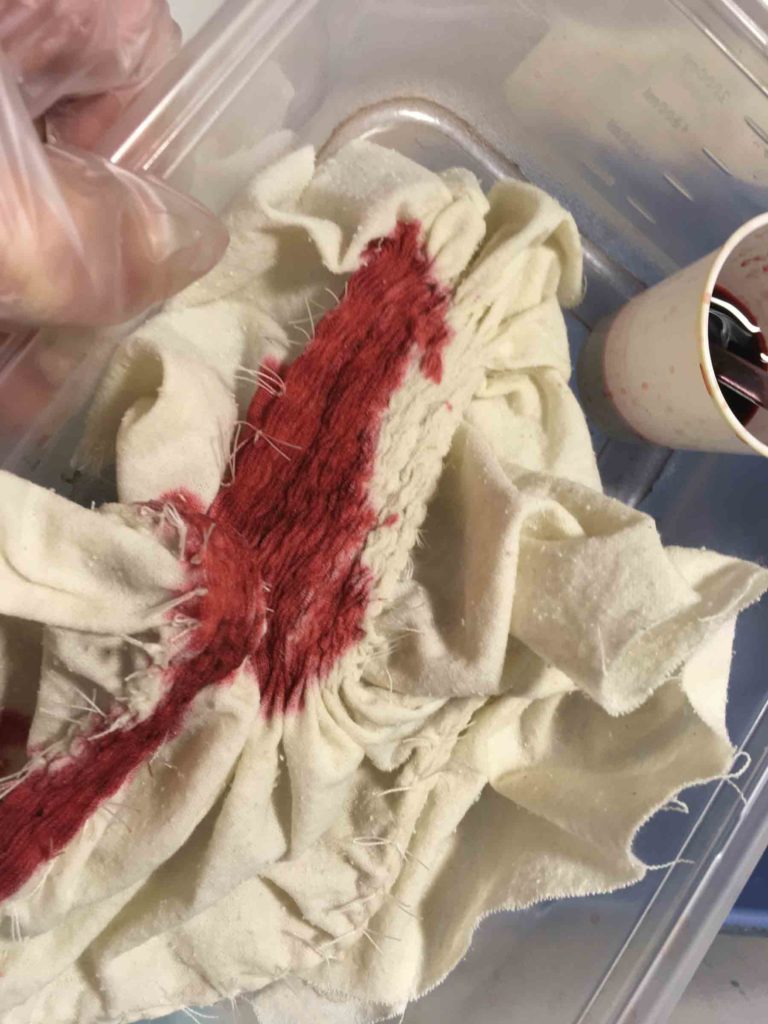
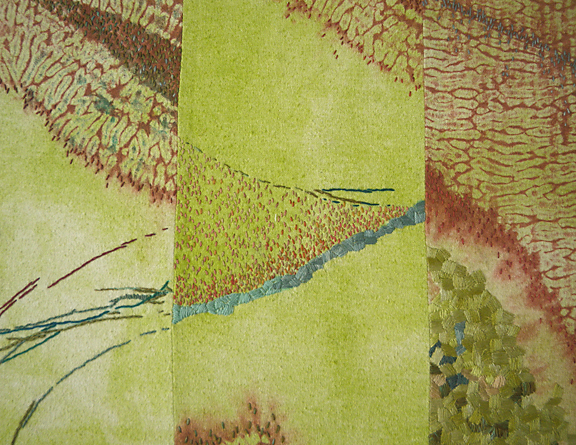
In beginning Ulysses’ Wave, I first dyed strips of raw silk in a gradual progression from a bright, clear green to a subdued, faded neutral.

Color copy

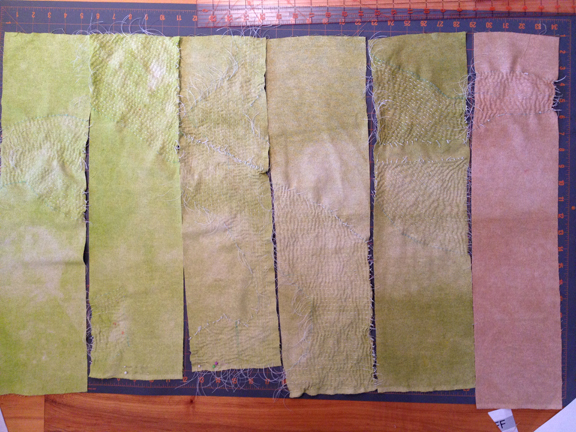
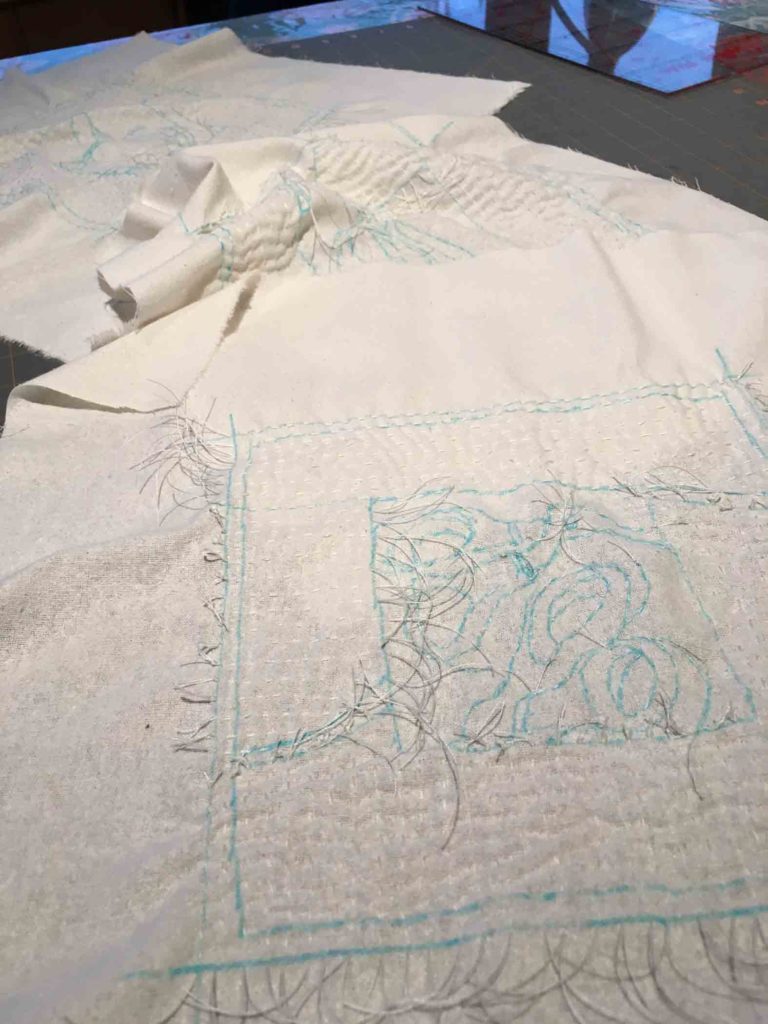
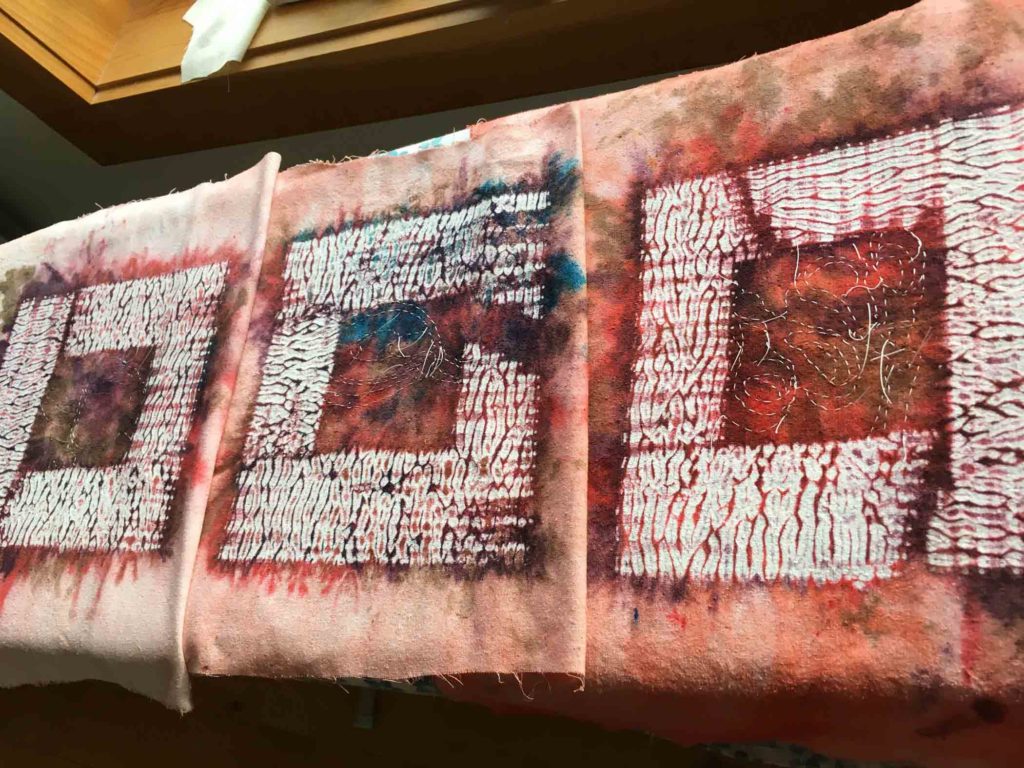
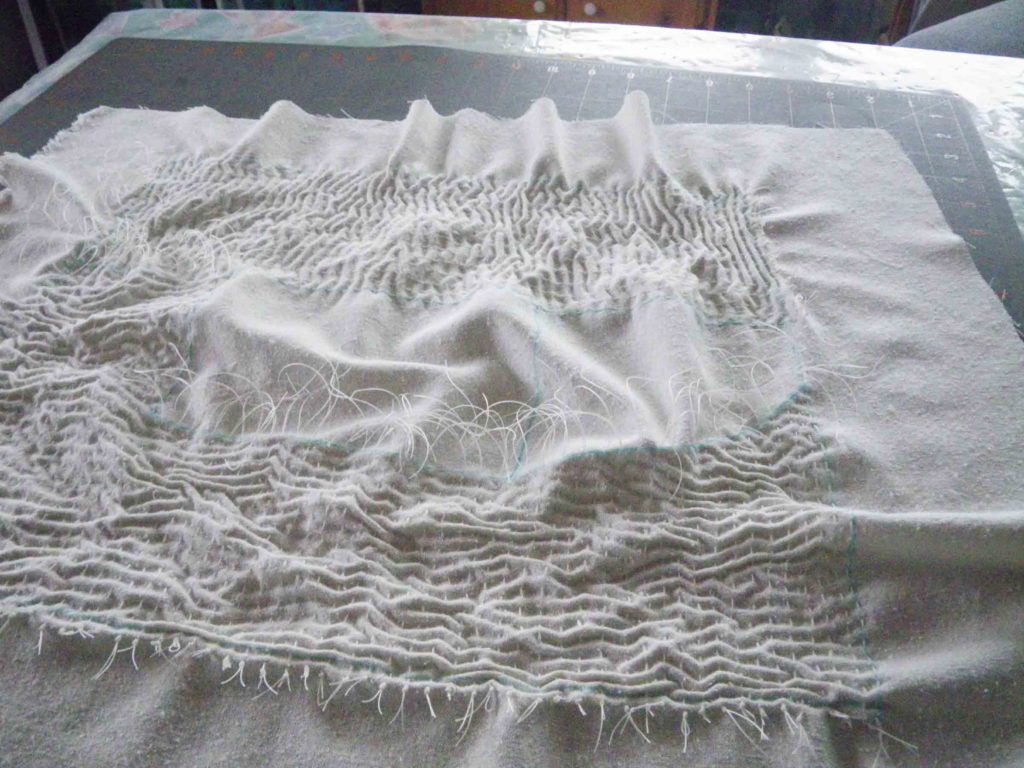
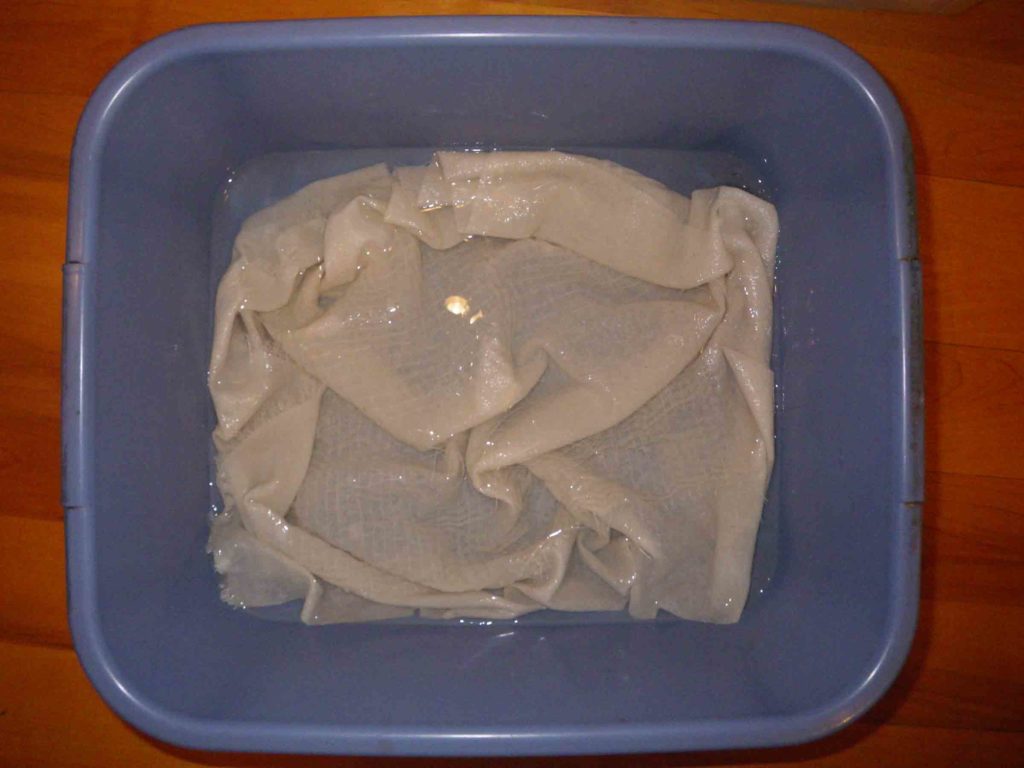
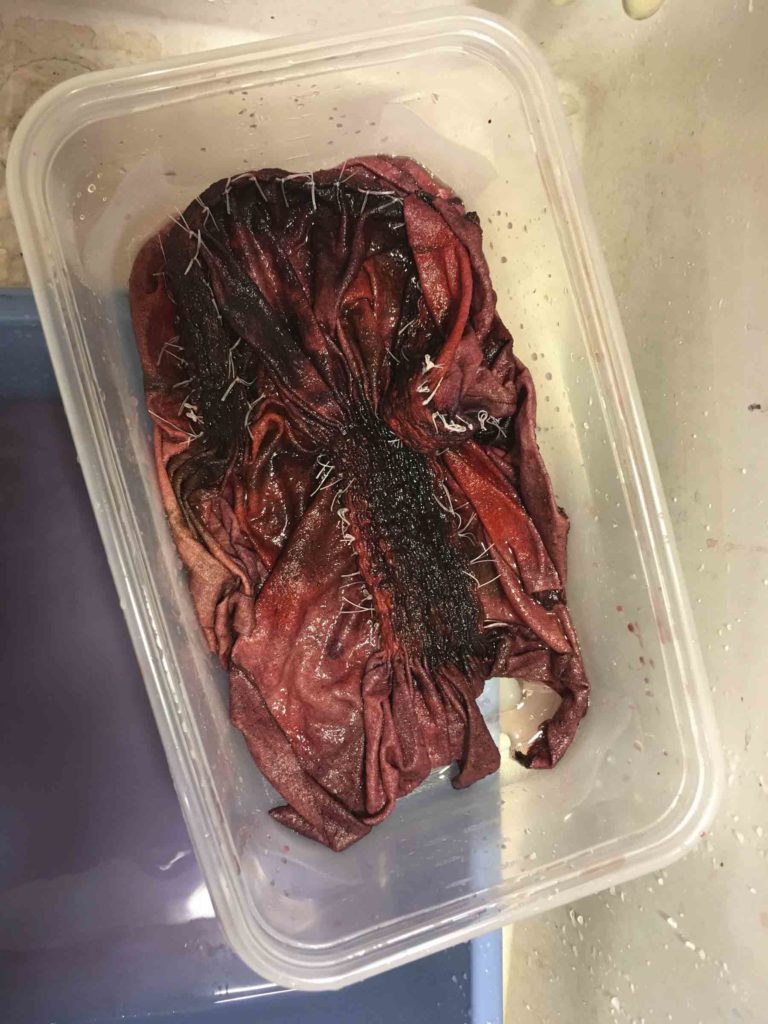
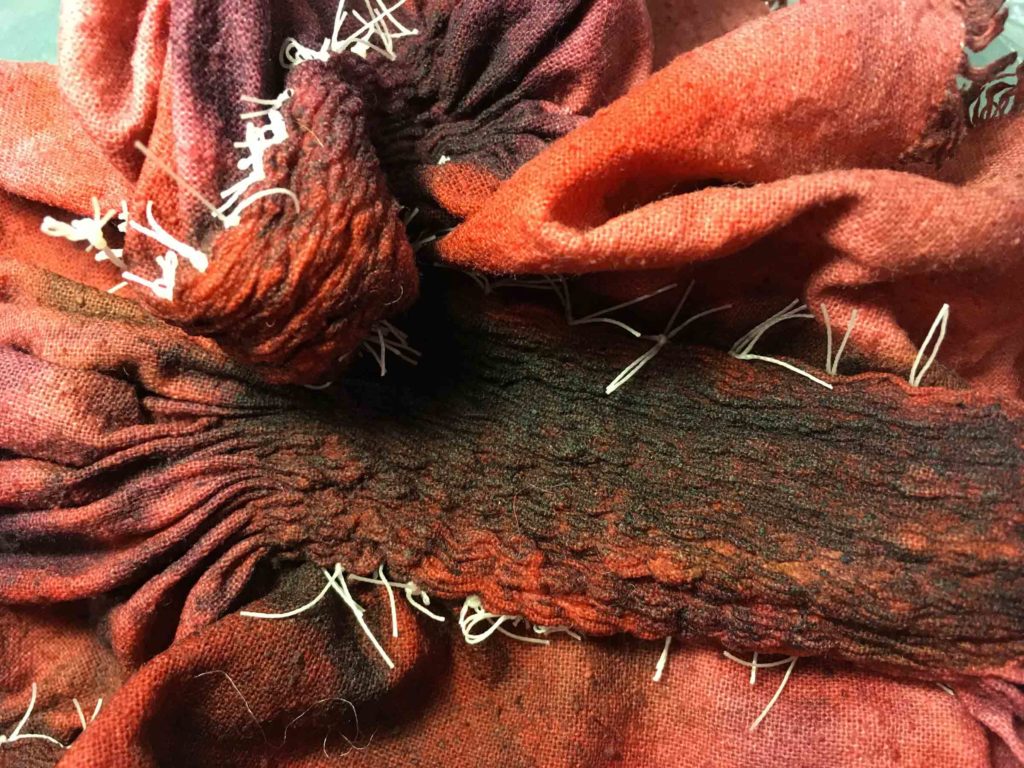
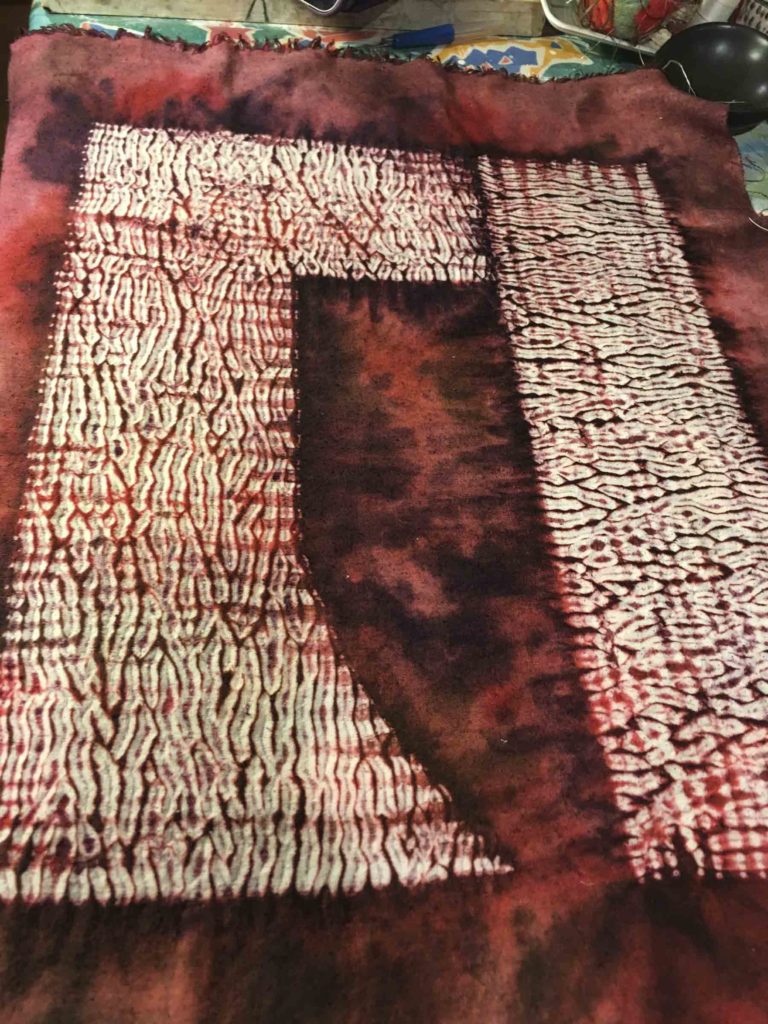
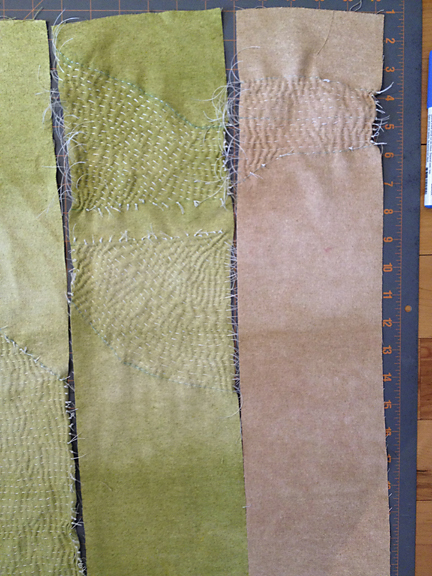
Each segment was then stitched so that once the threads were pulled tight and the strips put in a second dye bath – each progressively more muted –  the resulting shibori pattern created connections and continuity between the strips, but maintained distinct characteristics.

Stitching copy

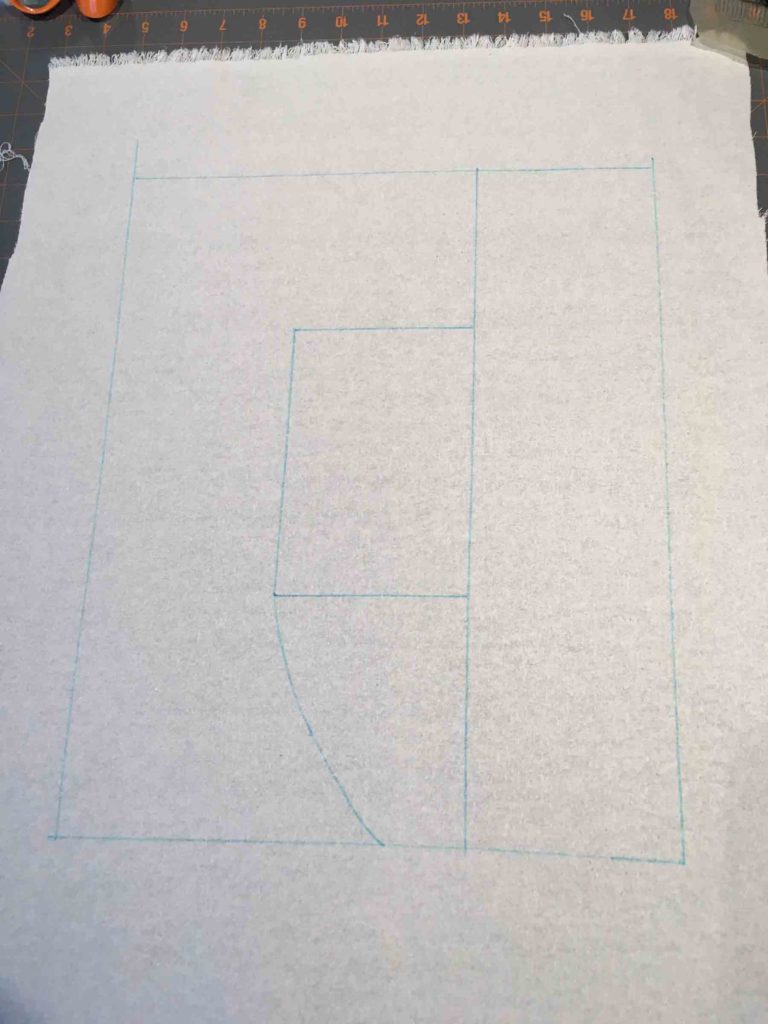
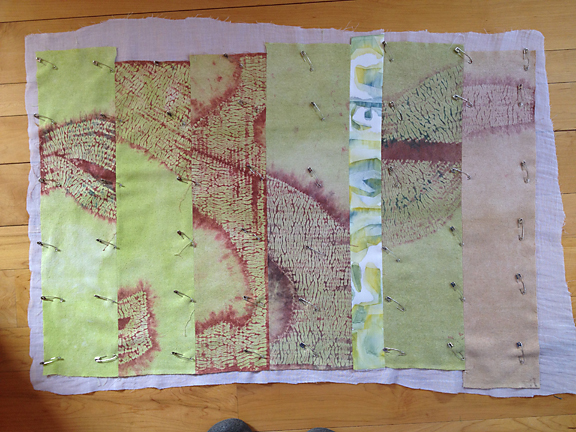
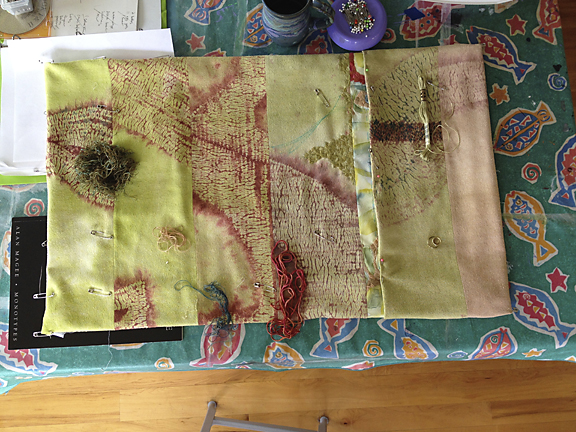
With the dyeing completed and the segments laid out in order, I realized a counterpoint was needed to offset the uninterrupted rhythm of the piece so far. I painted and inserted a strip of dupioni silk to provide some breathing room.

Insert

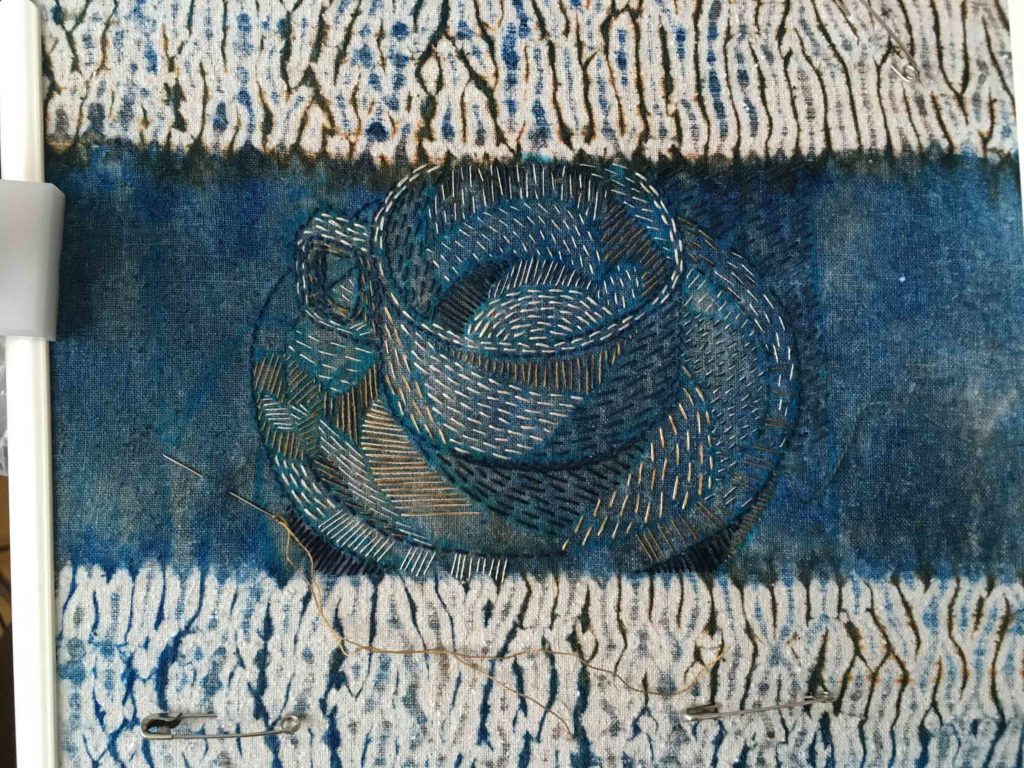
But as the process of embroidery began in earnest, something didn’t seem quite right…

Too Wide copy
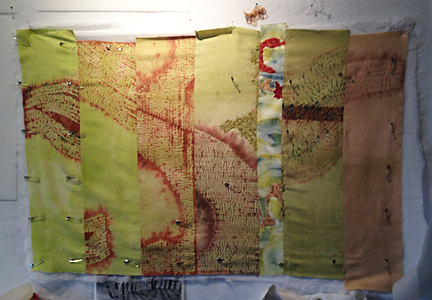
The painted section was too wide and disruptive

Too Thin copyAnd here it seemed too thin

Just Right copyFinally…a width that feels correct.

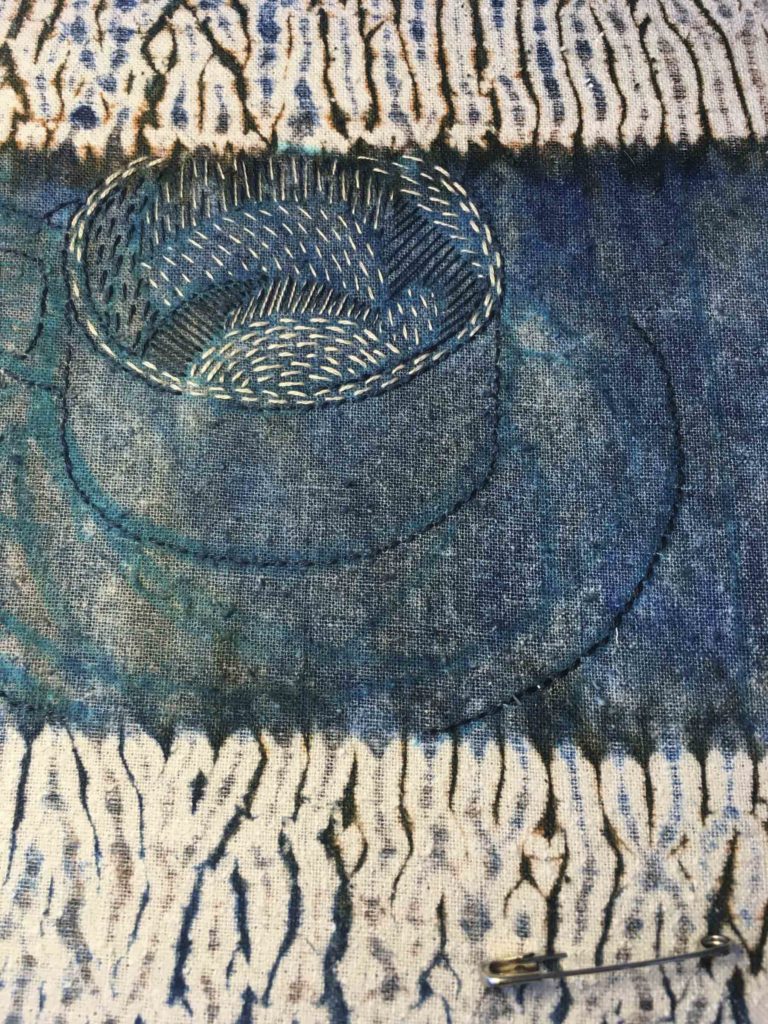
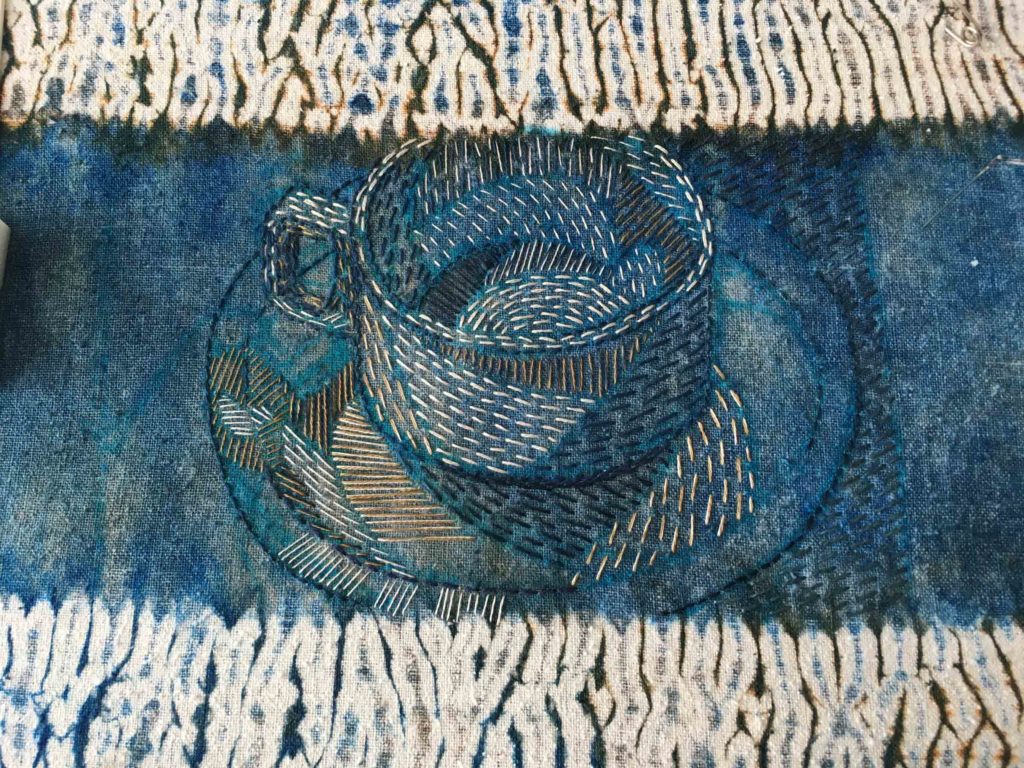
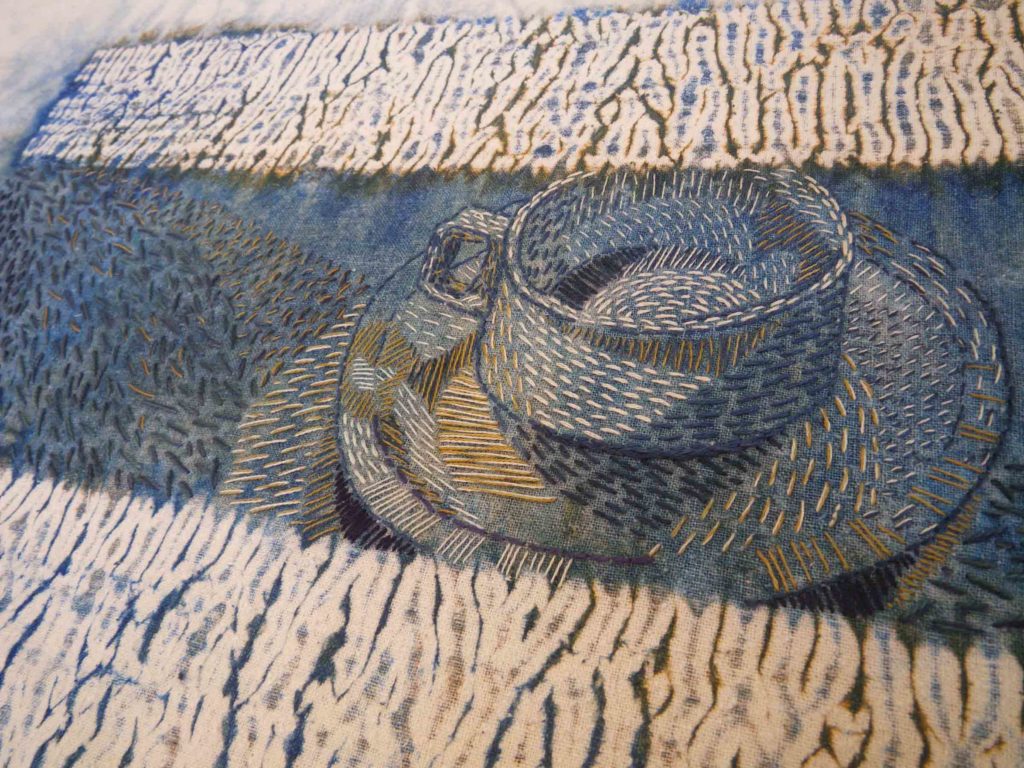
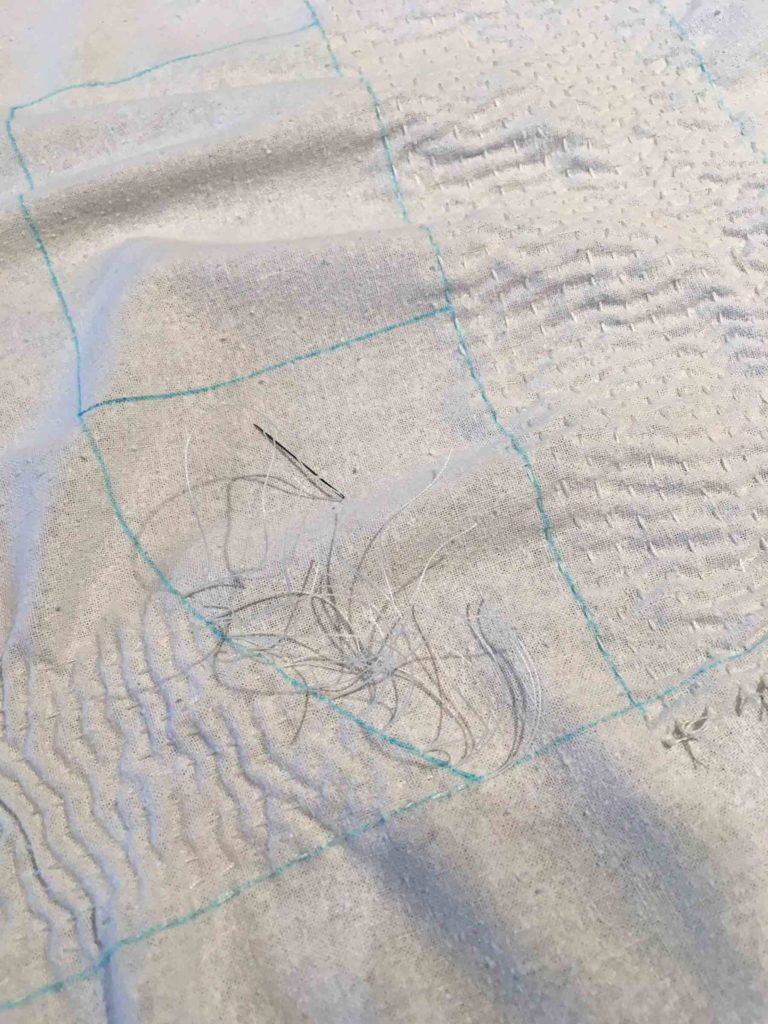
The next part of the process is one that I really enjoy — auditioning thread for color and placement. One of the great things about thread is that you can get your hands right into the color (it reminds me a bit of playing in my mother’s jewelry box when I was little).

Auditions copy

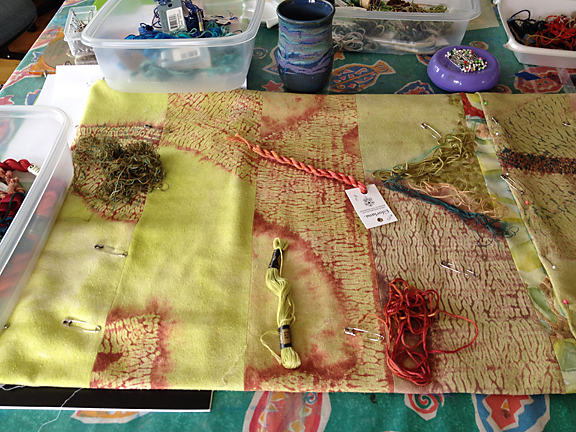
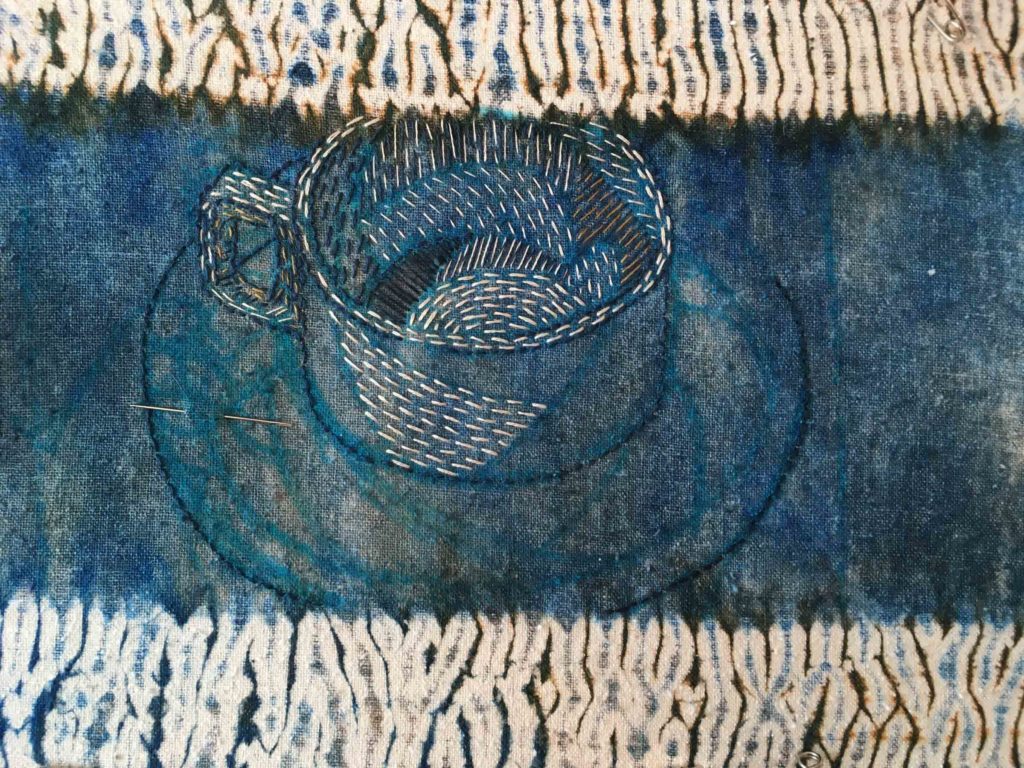
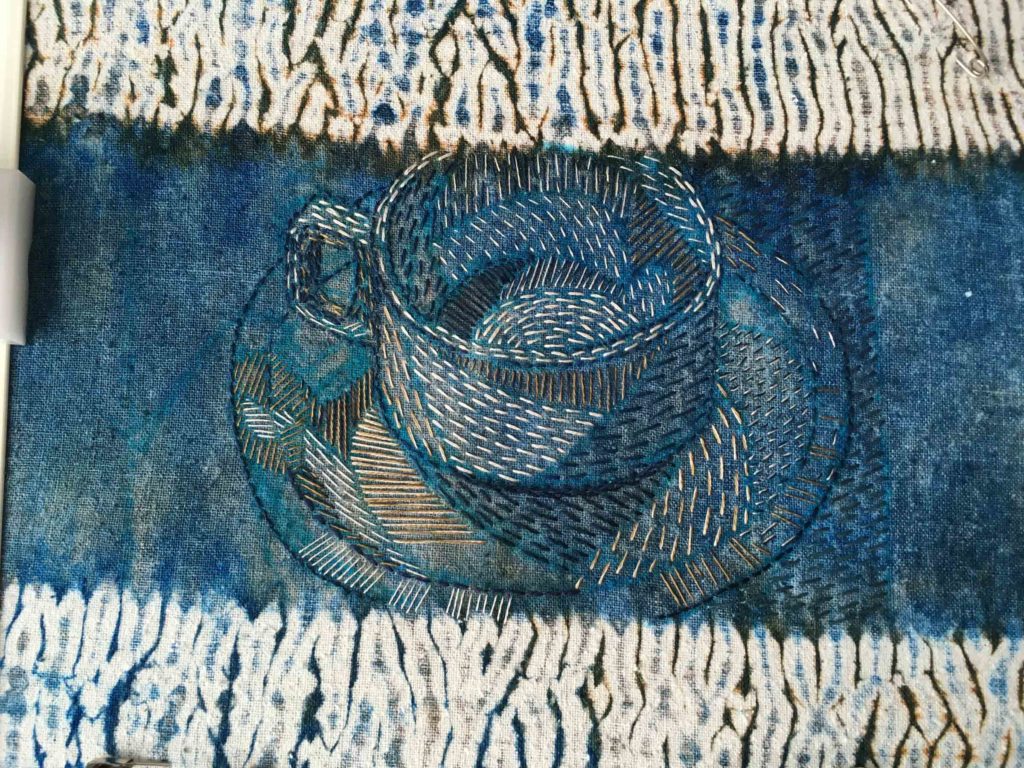
Then comes the largely intuitive job of using stitch to play off the pattern, color and shapes created by the dye.

Detail Stitching copy

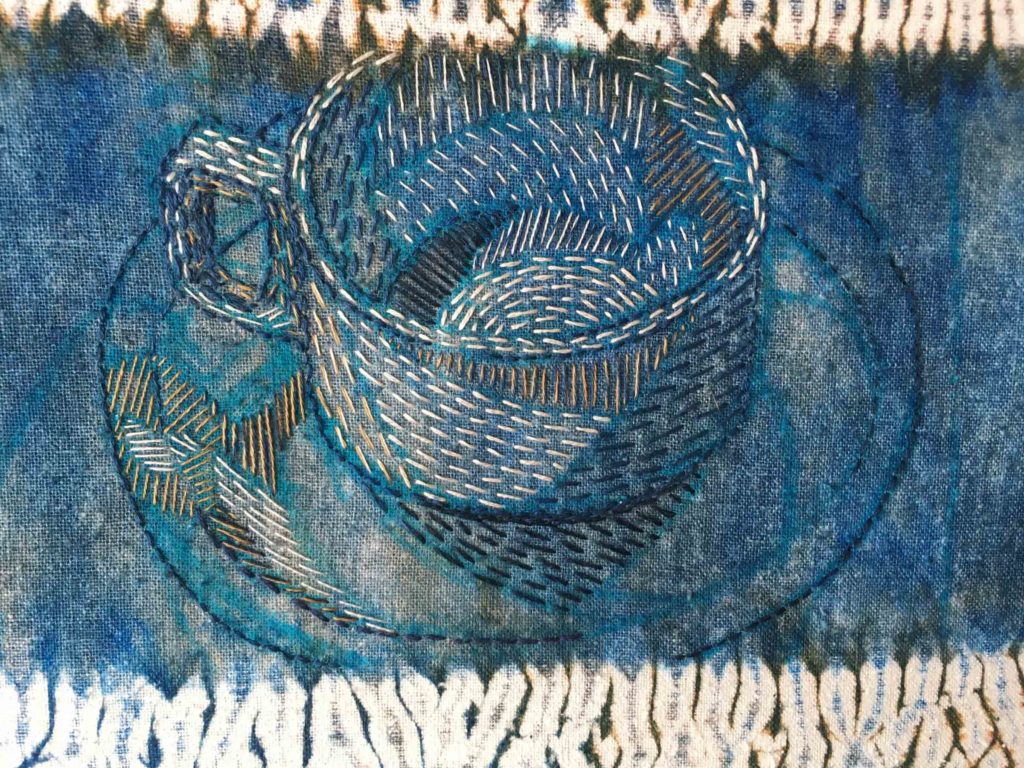
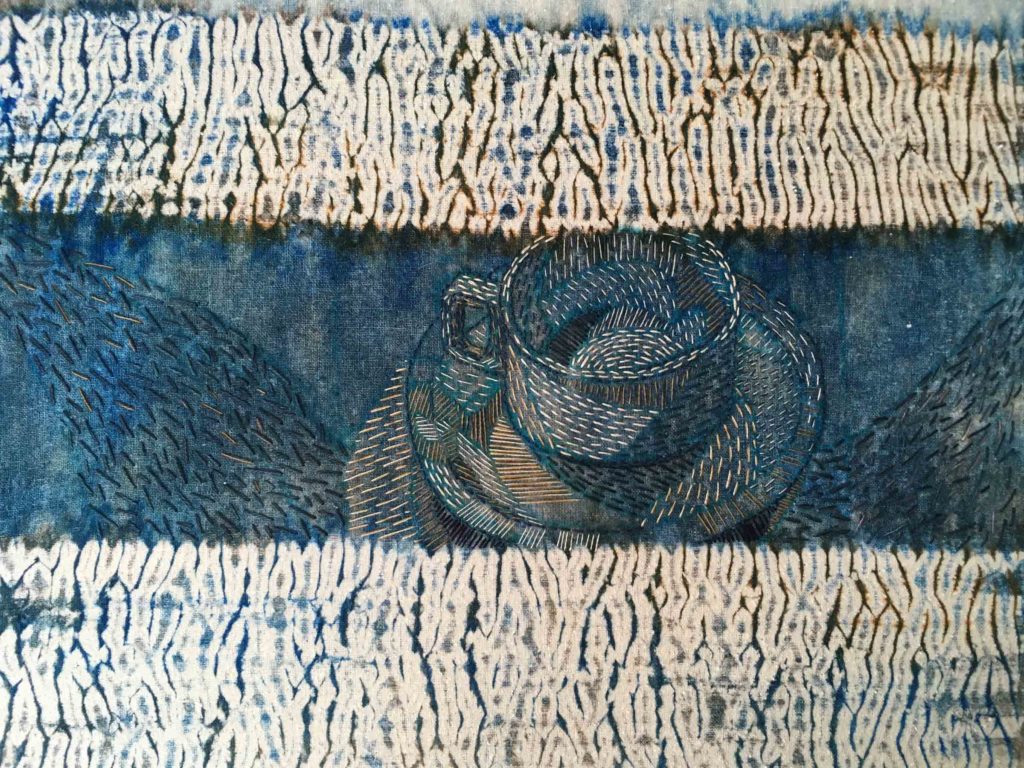
At this point the embroidery, for the most part, seemed complete. I had spent weeks on the challenge of harnessing visual movement so that it flowed around and through the piece, rather than traveling to one side and dropping off the edge.  But unfortunately, it’s not uncommon to get this far and to discover after pinning the work to my design wall that I can’t get past a niggling feeling that part of it isn’t working. Thus begins something of a waiting game – one of holding back and taking time to consider, anticipating an eventual solution which will set me on the right path.

Waiting copy

So this is where I’m going to leave you until next time — considering, as I did, how to bring this piece to a place where it could convey a sense of the transformation that comes with change, while maintaining, as we all must, some form of continuity.

Enjoy your week…